Want and easy start to life with ServiceMate?
In this blog post I will be going over the first steps I personally take when setting up a new ServiceMate account.You can follow your own path of course! But this is the way I choose to start. If you have signed up with ServiceMate and feel lost and confused, don’t worry, this blog is for you!
Straight to “Company Setup”
This may be obvious but a lot of users miss this. The first thing I do on ServiceMate is click “Settings” – “Company Setup”. Form here you can input all the basic information of you and your company such as, Company email, contact number, logo, company address and much more.
This will then show on you Invoices/quotes and any emails sent to customers.
Where to next?
Next I would go over the ‘System Management’ options and ignore ‘Email Management’ and “Language Definitions” as I like to play around with ServiceMate first before I edit these.
If you would like to edit these, feel free. The ‘Email Management‘ section is the standard email/footer sent to customers. In ‘Language Definitions‘ we have created default templates for SMS/Emails sent. Feel free to edit these.

Users – One Man Band? Skip This Section
If you have multiple admin staff or engineers you are going to want to add them to ServiceMate. This can be done by clicking ‘Settings – Users – New User‘
From here just input their information. The only information you really need is their full name, Email address (This will be their login), phone number and access level.
The users address is beneficial if the user is an engineer but this information is not a necessity.
‘Access Level’ – If you are choosing an engineer access level, this would mean that the user only has access to certain aspects of ServiceMate. We will not delve into this but you can change the access level of each category to suit your business.

Booking A Test Job
My next move would be to book a test job. This is beneficial as you can decide what information is needed and not needed of the standard ServiceMate template. Remember, ServiceMate is built to suit your business and is fully customisable.
So click “Book New Job” in the top right and input some test details.
Inputting the details is simple enough however, you find that some information must be involved and some may not. This is where the customisation comes in.
Run through the job booking process and write down what needs taking out and adding in, for example, you want the ‘Fault Details’ to be blank to book the job OR you may want the ‘Policy Number‘ to be mandatory before progressing.
Once you have done this and input the appropriate details, click ‘Continue To Job Card‘. ServiceMate will take you to the Job Card and here you can see all the details you have entered.
I am assuming you are not in ‘Stacked View’ so from here you would click ‘Visits‘
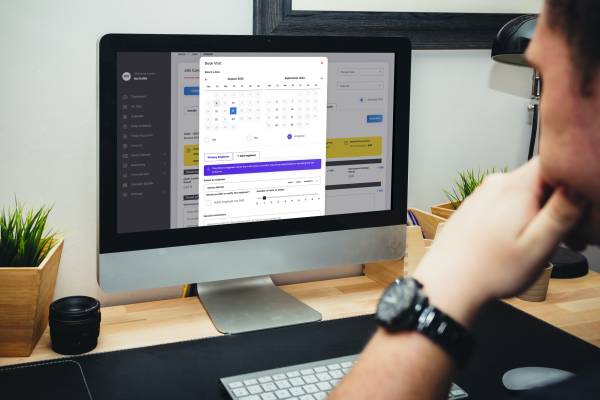
Here, click ‘Book Visit’ and choose the date, the engineer and if you would like to notify the customer via email/test. Once you book the visit you can action the job. As this is a test job, I would click ‘Action‘ and choose an outcome to see how ServiceMate works. Again making a note of all the forms you want removing/ adding.

Final Notes
The next blog will be going over ‘Form Builder‘ and how all the notes we have taken will come into play. For now I will leave you with a bit of information on payment.
When you action the job you will see at the bottom the ‘To Pay Today‘ sign, asking you for a payment method. Earlier we went through deciding which payment methods our business took, so here is a run down of each.
- Offsite – Other Payment Method – This can be an electric card reader or other forms of payment – ServiceMate will note a payment was taken via Offsite.
- Card – We have integrated Stripe for the card payments. If you input your public and private key in ‘Company Setup‘, ServiceMate can take a payment on site using the customers card details.
- Cash – Cash – ServiceMate will log that this was a cash payment.
- BACS – Input your BACS details into ‘Company Setup‘ and this will appear on any invoice/quote for the customer to take take. ServiceMate will note this as a BACS payment
- Paypal – Link your paypal and ServiceMate will connect directly to it, allowing you to take payment
To start your free trial of ServiceMate, click here!


